

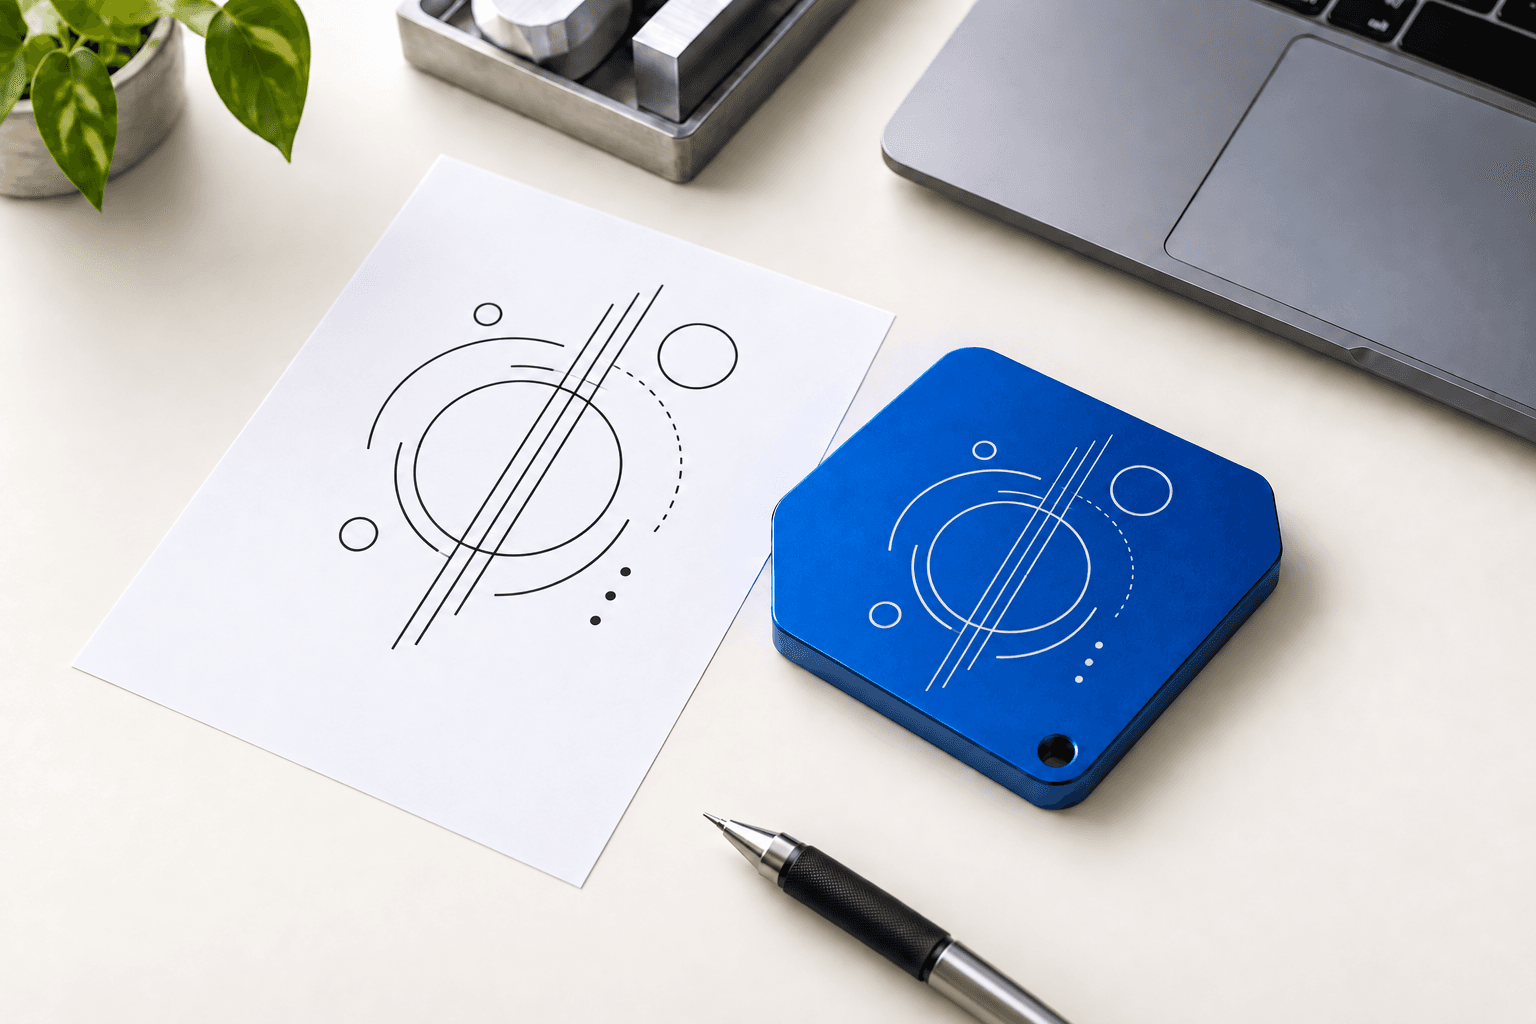
Start with the purpose, not the file format
Artwork for laser marking is more than a logo or an inscription. First decide what a person must recognise: a name, serial number, technical data, QR code, date or short message. Once the primary meaning is clear, it is much easier to discuss scale, placement and the amount of information without filling the area with unnecessary detail.
You do not need a perfect production file for an initial review. Send the exact wording, the best version of a logo or image, and a photo of the item. If you have an example of a look you like, send it separately and say what matters in it: the composition, scale, line quality or position on the surface.
- Exact wording, checked for spelling, numbers and punctuation.
- The best available logo or graphic source: vector, PNG or a high-quality image.
- Photos of the item and approximate dimensions of the intended area.
- The preferred location marked on a photo, if known.
What prevents avoidable revisions
Fine text, thin lines and complex ornaments can look different on real metal than on a screen. The usable area, relief, coating, reflections and spacing all matter. Before approval, it helps to mention the size of the item and whether there are curves, holes, chamfers or areas that must stay untouched.
Do not shrink a logo into a tiny rectangle or turn a source into a blurred screenshot. Send the best original you have. During the review, simplifying a graphic, changing the scale or moving the marking area may be suggested to preserve clarity; it is a way to test the idea against the real item, not to change it without you.
How to send a clear request
A useful request has four parts: what the item is, what should be marked, where it should go and how many items are planned. For example: stainless-steel plate, logo and number, lower-right corner, ten pieces. If the material or coating is unknown, say so and attach a clear photo in neutral daylight.
For repeat work, keep the approved wording, artwork version and a photo of the marking area together. This makes the next conversation specific. A repeat request still needs review if the material, coating, dimensions or geometry has changed, because the decision should stay tied to the actual item.
Before sending the message, read it as if you had never seen the item. Is it clear which metal object is involved, where the mark belongs and which result matters most? One clear paragraph, a photo and the best source file are usually more useful than a collection of unrelated screenshots. If you are unsure about something, say so directly; it helps bring the right question into the review at the start.
Frequently asked questions
Can I send a photo instead of a drawing?
Yes. A clear photo, a short description and the intended area are enough to start a discussion. Exact dimensions can be clarified separately when needed.
What logo file is best?
A vector source is useful, but it is not required for an initial review. Send the best source you have and avoid degrading it through repeated compression.